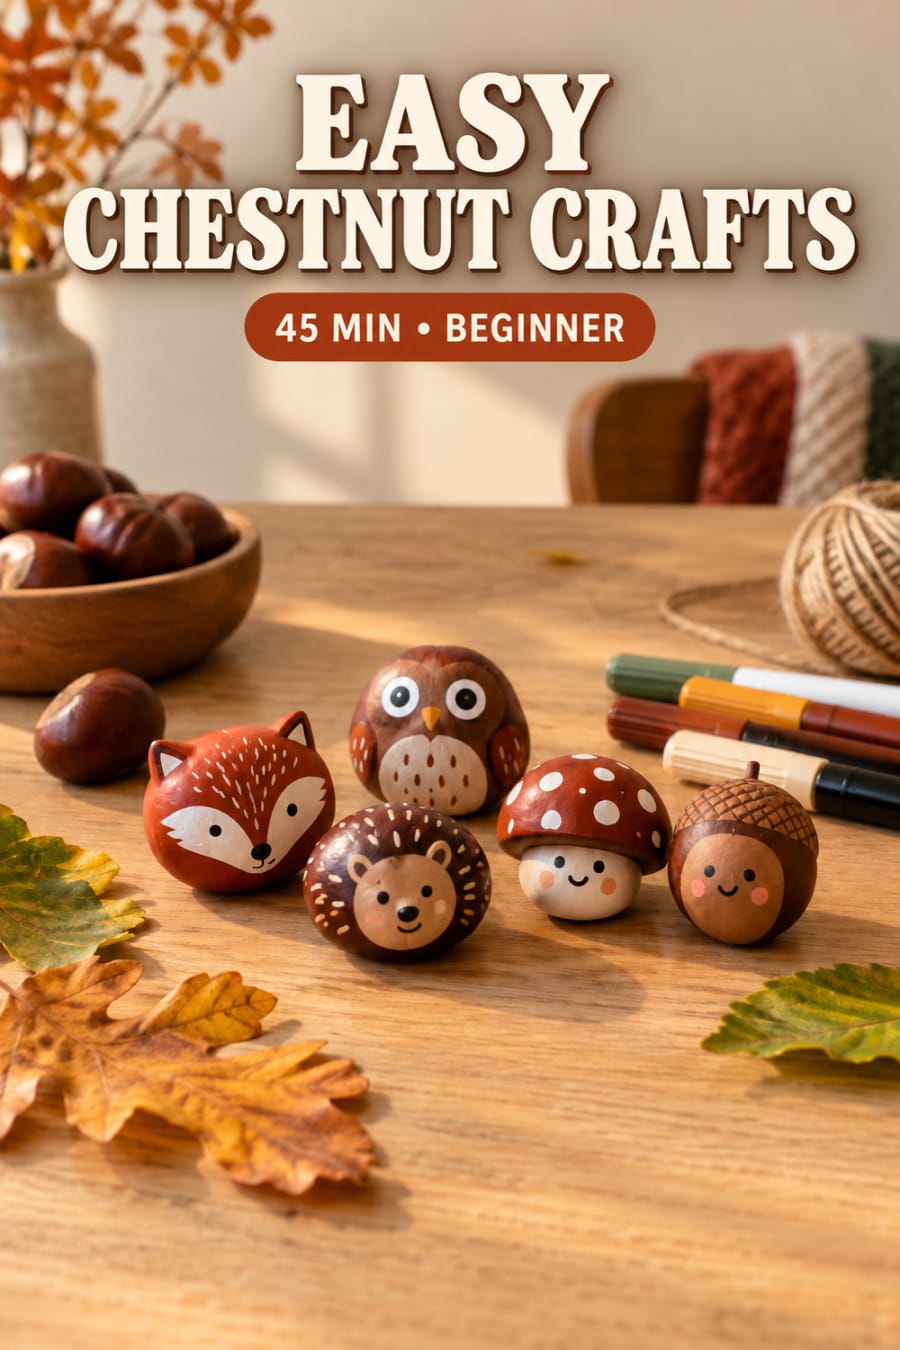
Before you start
Ask an adult to inspect every chestnut, discard cracked or moldy pieces, wipe away dirt, and let the pieces dry completely. Horse chestnuts and conkers are decorative craft materials, not food. Read the marker label before beginning and cover the work surface.
At the craft table
Follow the marker and adhesive labels for age guidance, ventilation, handling, and cleanup. Horse chestnuts and conkers are not edible. Keep small natural pieces and embellishments away from young children and pets, and use adult supervision for family craft time.
Make it step by step
Choose and dry the chestnuts
Pick smooth, firm pieces with no cracks or soft spots. Wipe them clean and let them air-dry fully before painting so the design has the best chance to stay in place.
Make a cradle for each piece
Fold a strip of scrap paper into a shallow V or set each chestnut in a small tray. This keeps the round surface from rolling while you add a face or pattern.
Plan one simple character
Sketch a fox, owl, mushroom, acorn, or friendly woodland face on paper. Start with a large shape and just a few details so the finished design reads clearly.
Test the marker first
Follow the marker package directions for priming, ventilation, drying, recapping, cleanup, age guidance, and supervision. Test a small mark on one chestnut before decorating the full group.
Add the light shapes
Paint the largest cream, white, or pale-colored areas first. Turn the chestnut only after the surface is dry enough to handle without smearing.
Layer the darker details
Add eyes, dots, leaf veins, tiny caps, or outlines after the first shapes dry. Repeat one or two motifs across the group to make the characters feel related.
Dry and display the collection
Leave the finished characters in their tray for the full label-specified drying time. Arrange them as seasonal decorations on a stable surface, away from food, pets, and very young children.
Make it your own
Use the natural pale spot on a chestnut as a belly, face, or mushroom stem.
Limit each character to two or three colors for an easy, cohesive woodland set.
Photograph the finished group in soft window light on wood or kraft paper with only a few fallen leaves nearby.
Common fixes
The chestnut keeps rolling.
Set it in a folded paper cradle or shallow cup and rotate the holder instead of gripping wet paint.
A line looks uneven.
Let it dry, then turn the uneven edge into a leaf vein, fur mark, dot, or thicker outline.
Paint rubs off while handling.
Stop turning the piece and allow the full label-specified drying time before adding another layer.
Finish & enjoy
When every surface is dry, group the characters in a shallow wooden tray or on a small shelf. Treat them as indoor seasonal decorations rather than toys, and discard any piece that later cracks, softens, or develops mold.


